AirPodsを使っている人は、この設定をしておくことをおすすめします。
AirPodsの音質をカスタマイズする方法
1.AirPodsとiPhoneを接続状態にします。
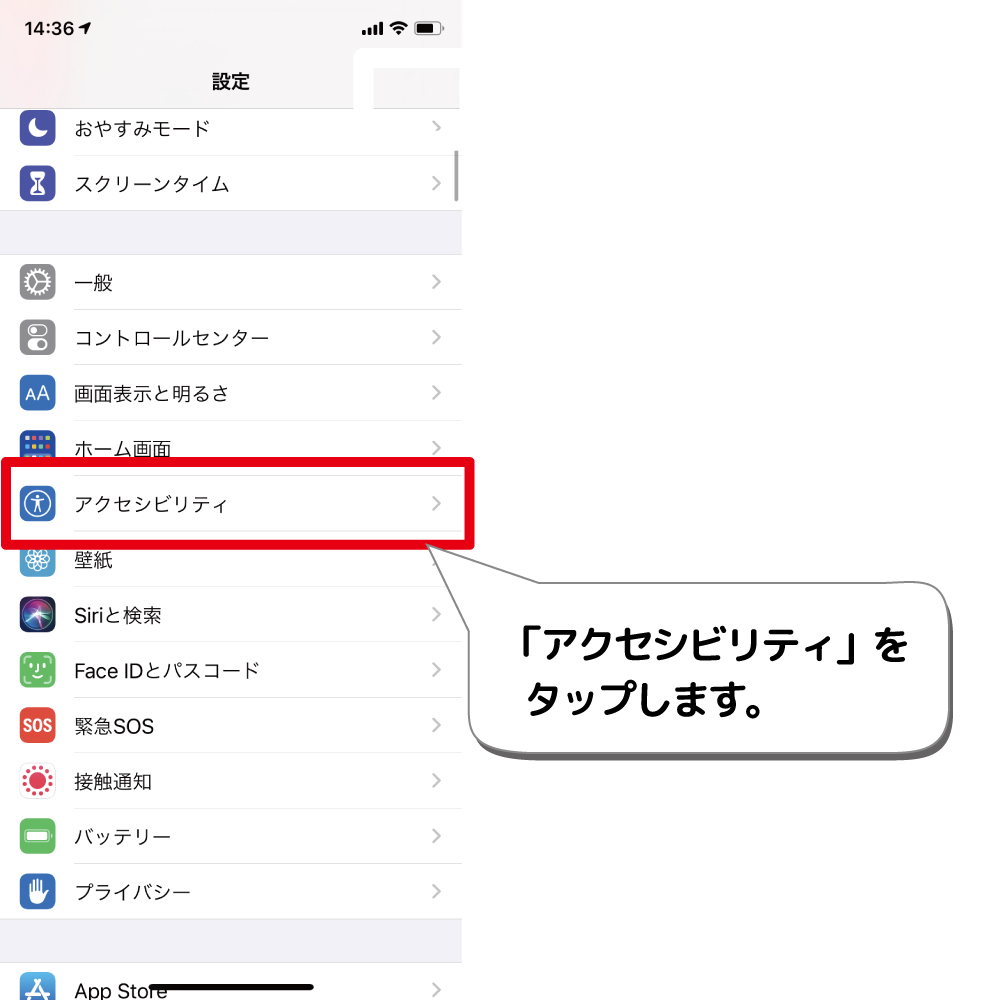
2.設定を開き、「アクセシビリティ」をタップします。
![](https://tori-setsu.com/wp-content/uploads/2020/10/pods音質_01.jpg)
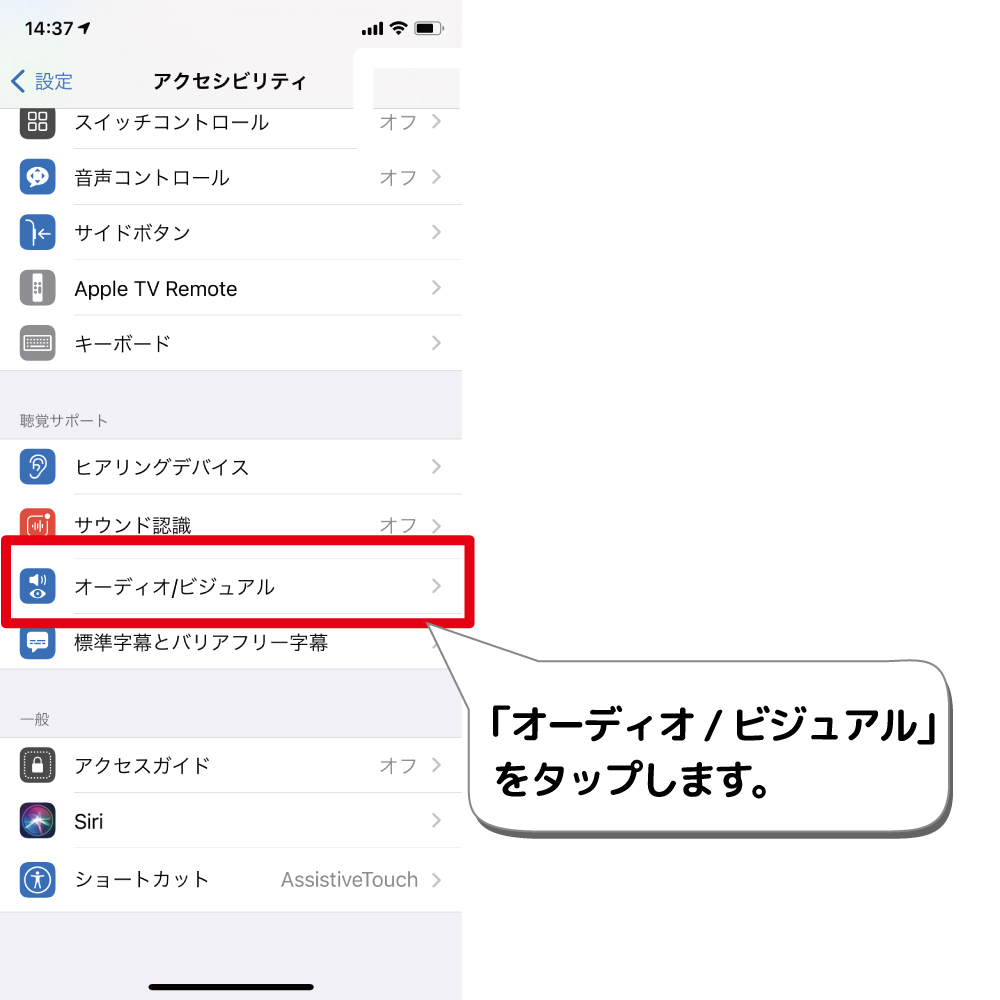
3.「オーディオ/ビジュアル」をタップします。
![](https://tori-setsu.com/wp-content/uploads/2020/10/pods音質_02.jpg)
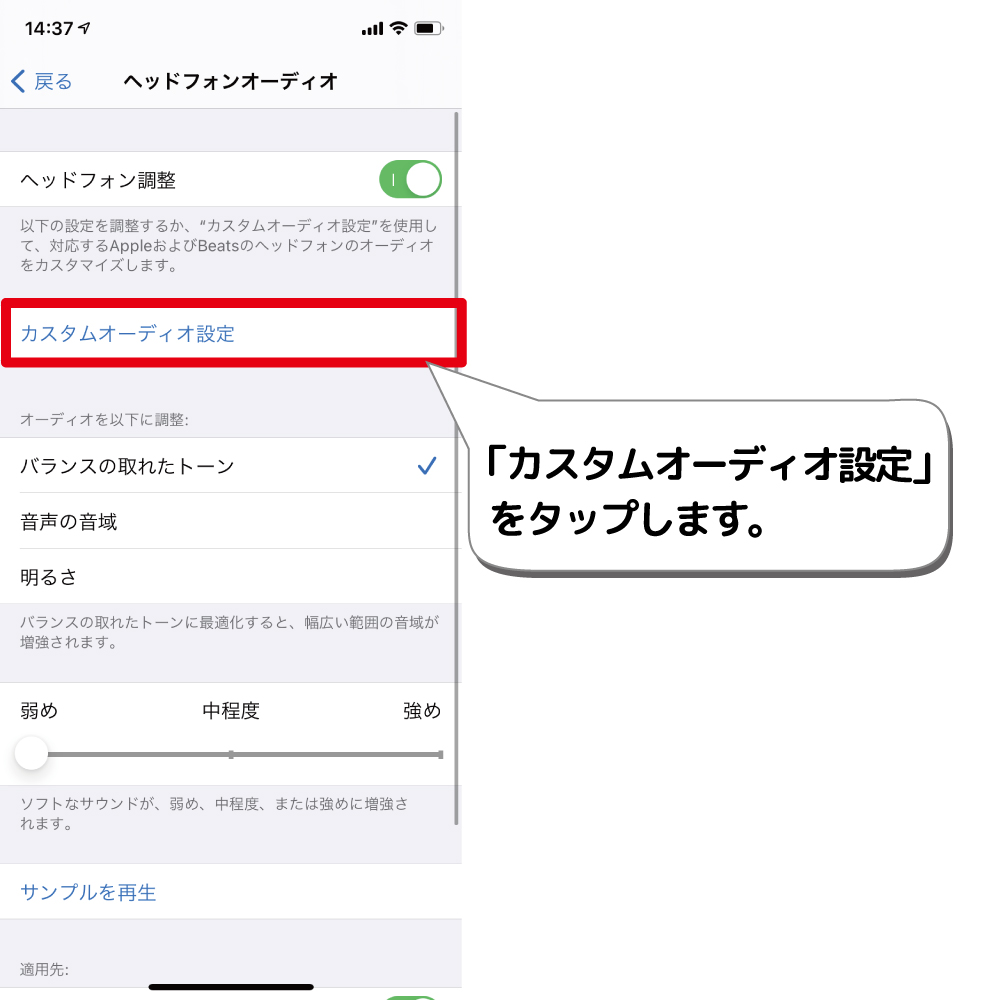
4.「ヘッドフォン調整」をタップします。
![](https://tori-setsu.com/wp-content/uploads/2020/10/pods音質_03.jpg)
5.「ヘッドフォン調整」がオンになっている事を確認し、「カスタムオーディオ設定」をタップします。
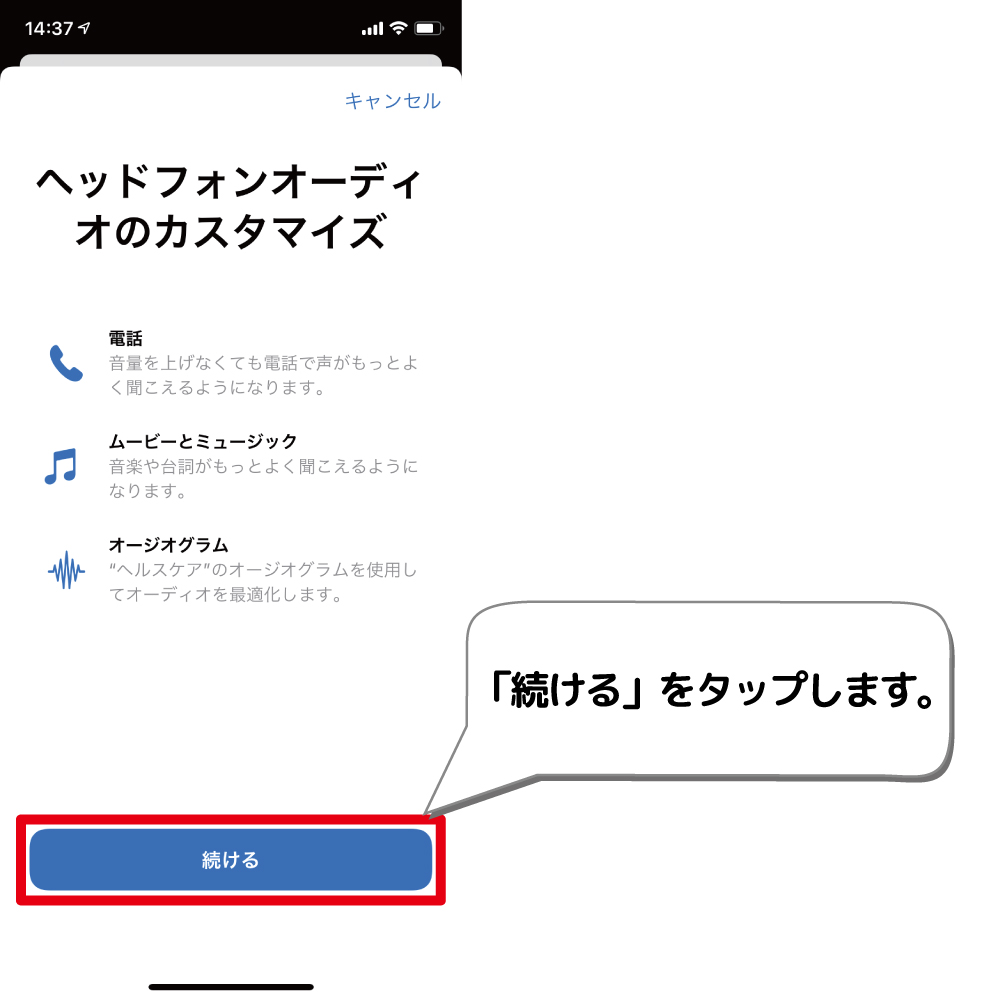
![](https://tori-setsu.com/wp-content/uploads/2020/10/pods音質_04.jpg)
6.「続ける」をタップします。
※「続ける」がグレーアウトしている場合は、AirPodsを耳に装着した状態で行ってください。
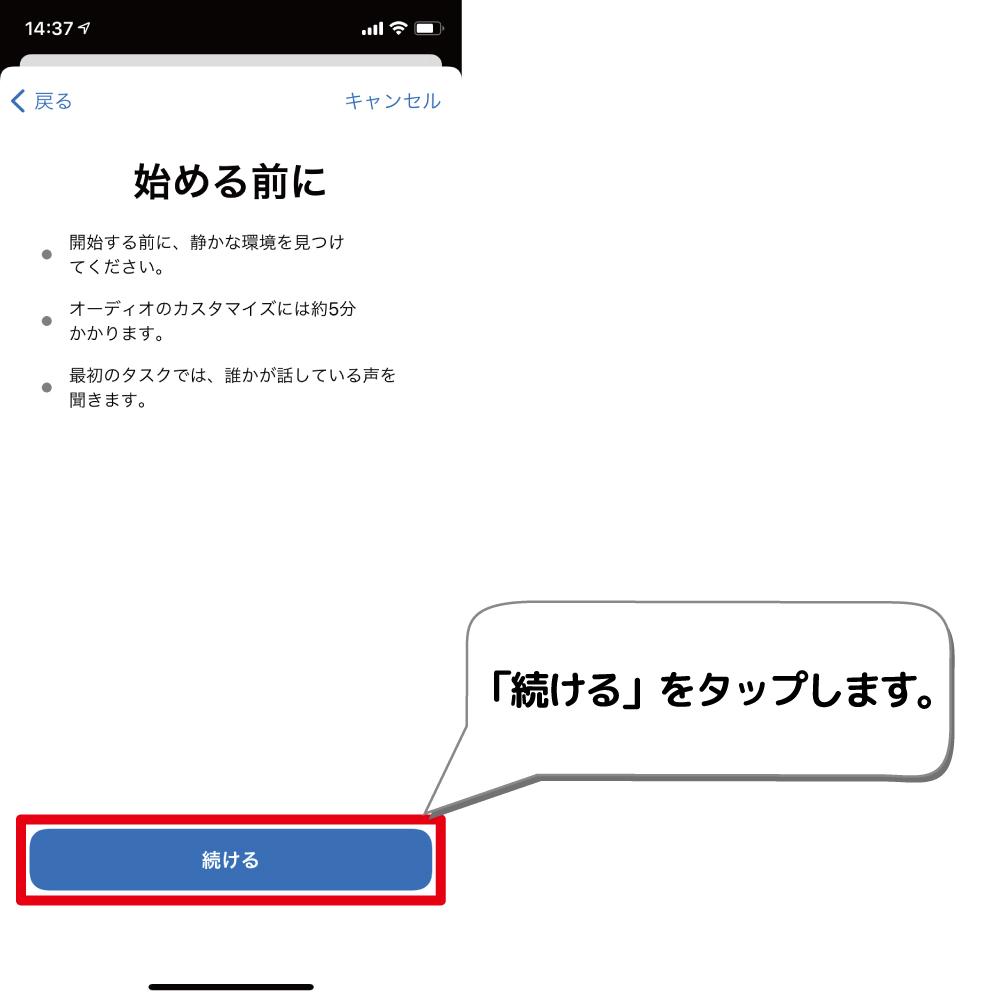
![](https://tori-setsu.com/wp-content/uploads/2020/10/pods音質_05.jpg)
7.再度「続ける」をタップします。
![](https://tori-setsu.com/wp-content/uploads/2020/10/pods音質_06.jpg)
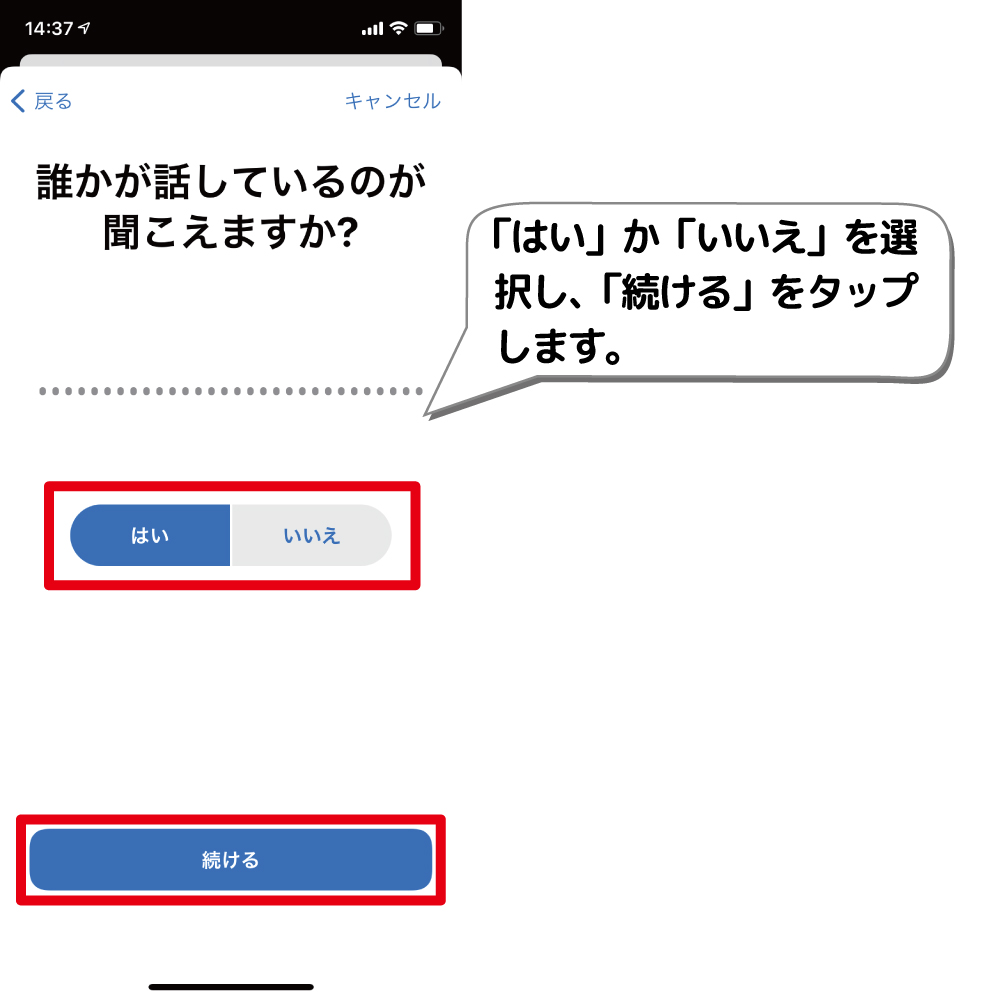
8.人の声が聞こえる場合は「はい」、聞こえない場合は「いいえ」をタップし、「続ける」をタップします。
![](https://tori-setsu.com/wp-content/uploads/2020/10/pods音質_07.jpg)
9.「続ける」をタップします。
![](https://tori-setsu.com/wp-content/uploads/2020/10/pods音質_08.jpg)
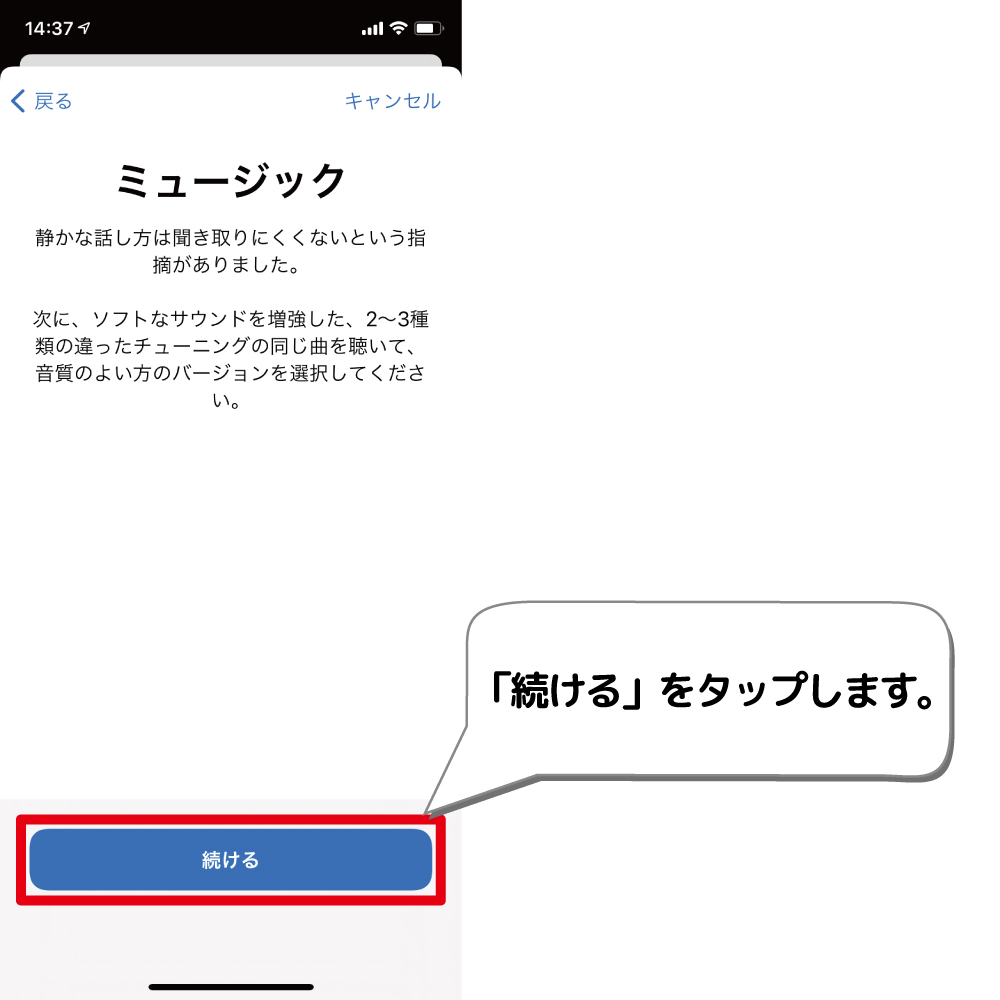
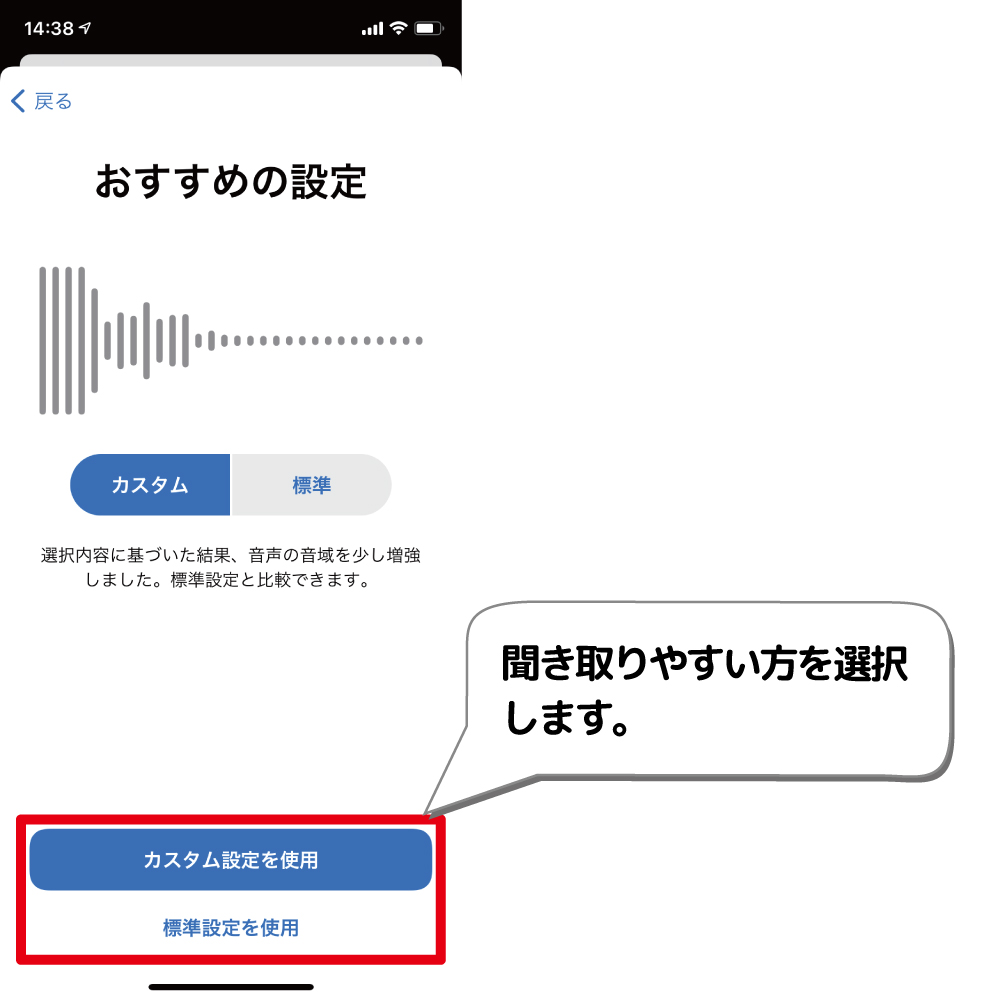
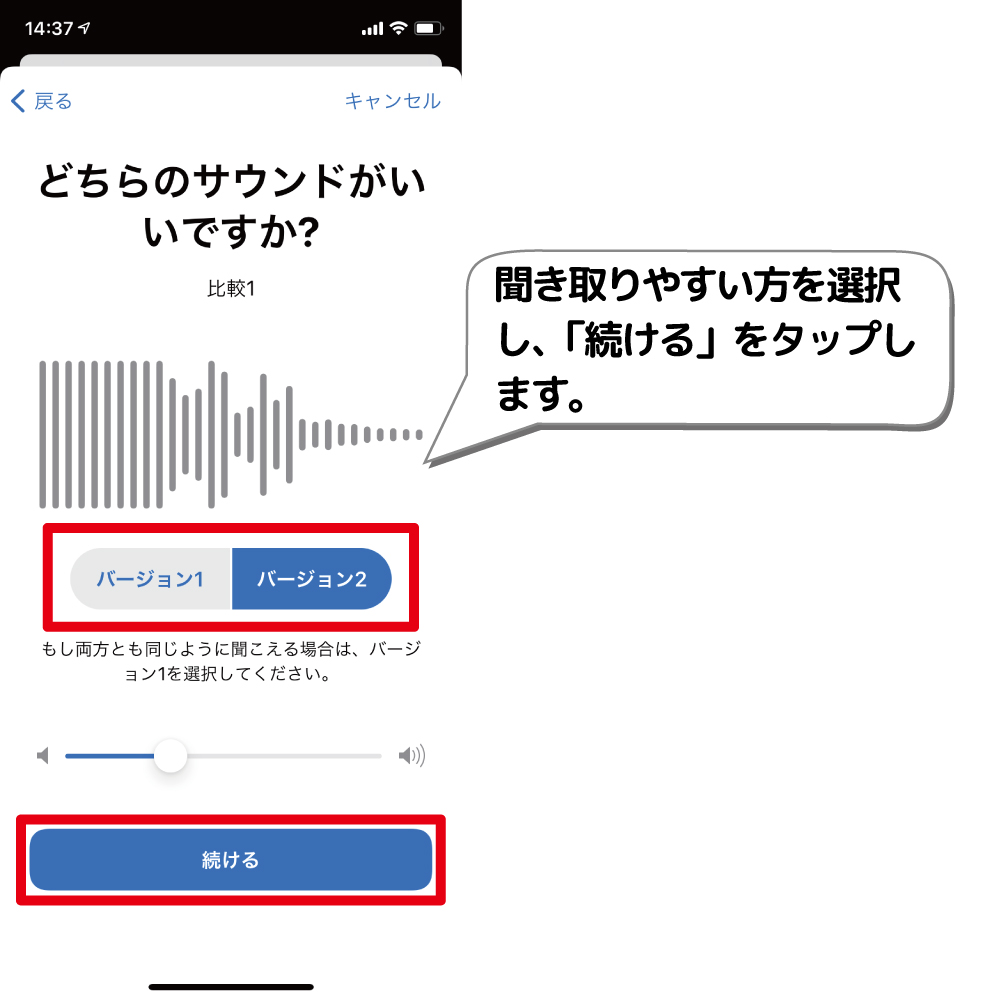
10.バージョン1とバージョン2を聞き比べ、聞こえやすい方を選択し「続ける」をタップします。
![](https://tori-setsu.com/wp-content/uploads/2020/10/pods音質_09.jpg)
11.上記の手順を何度か続けます。
12.最後に「カスタム」と「標準」を比べ、聞きやすい方を選択して終了です。
![](https://tori-setsu.com/wp-content/uploads/2020/10/pods音質_10.jpg)