
メールを送信するときに、必ず使用する署名。今回は、この署名を作成する方法を紹介します。
Outlookの署名を作成する方法
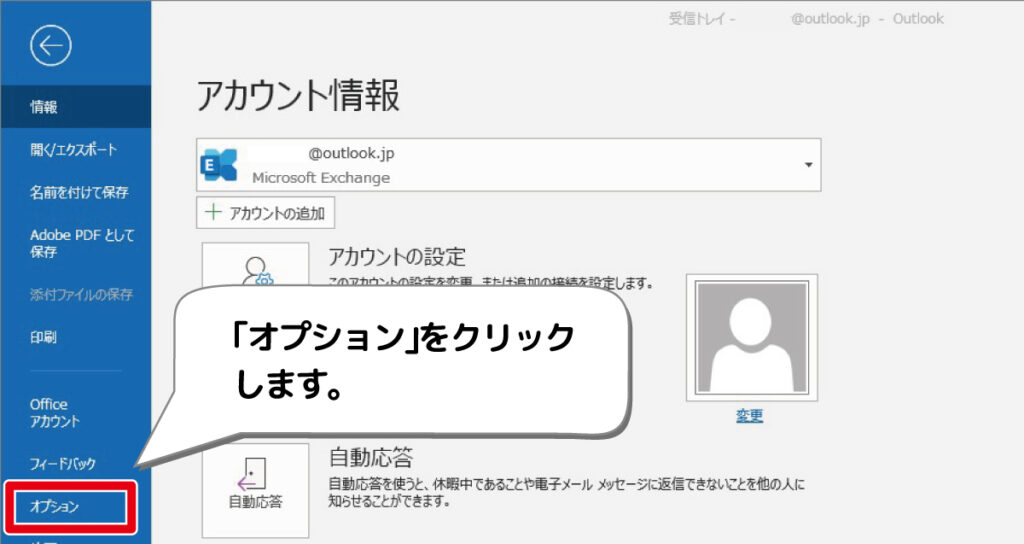
1.Outlookを起動し、[ファイル]>[オプション]の順番でクリックします。
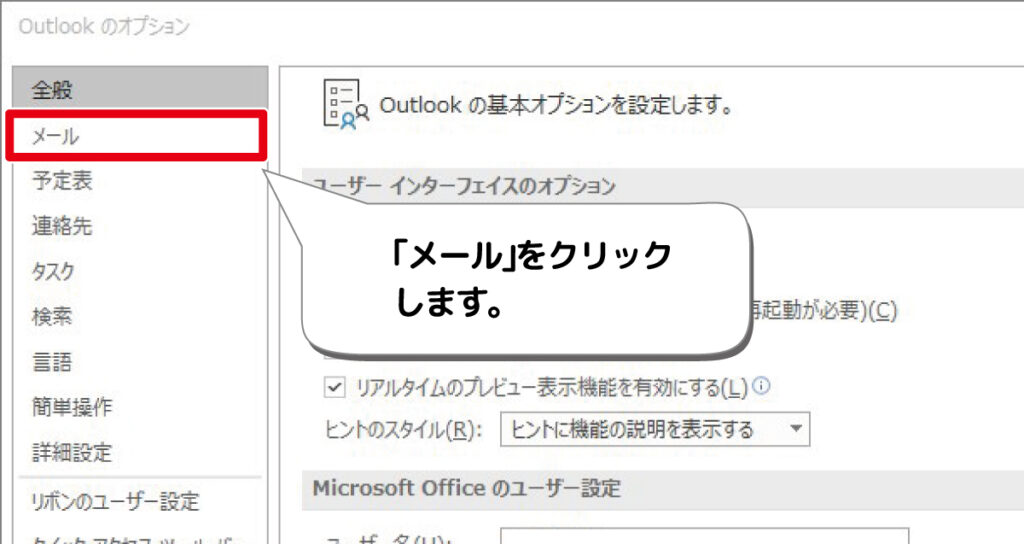
2.「メール」をクリックします。
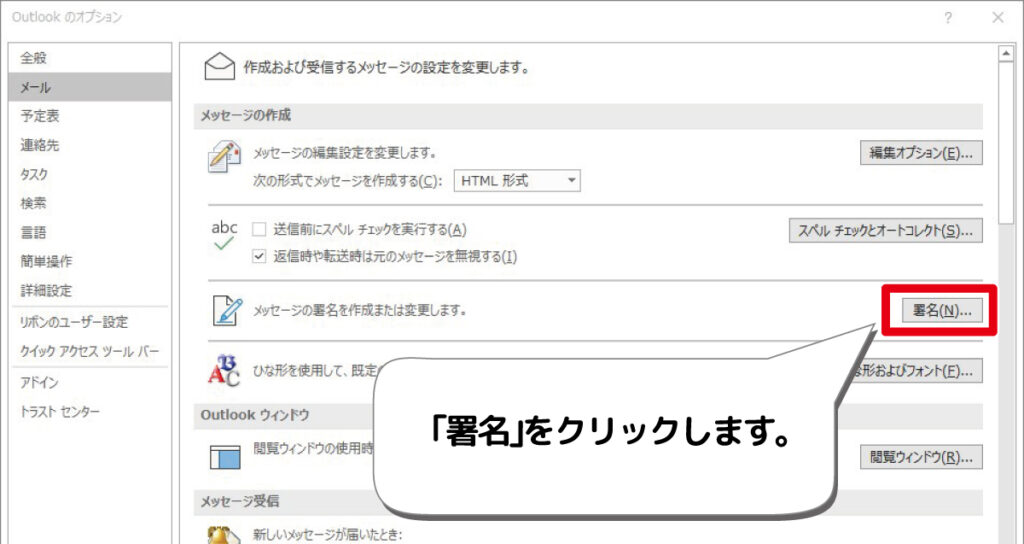
3.「署名」をクリックします。
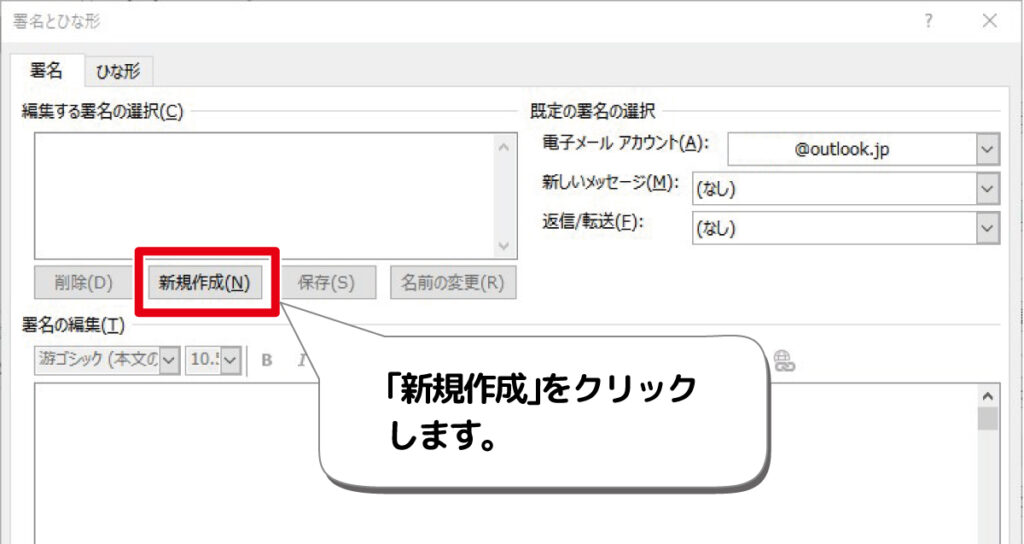
4.「新規作成」をクリックします。
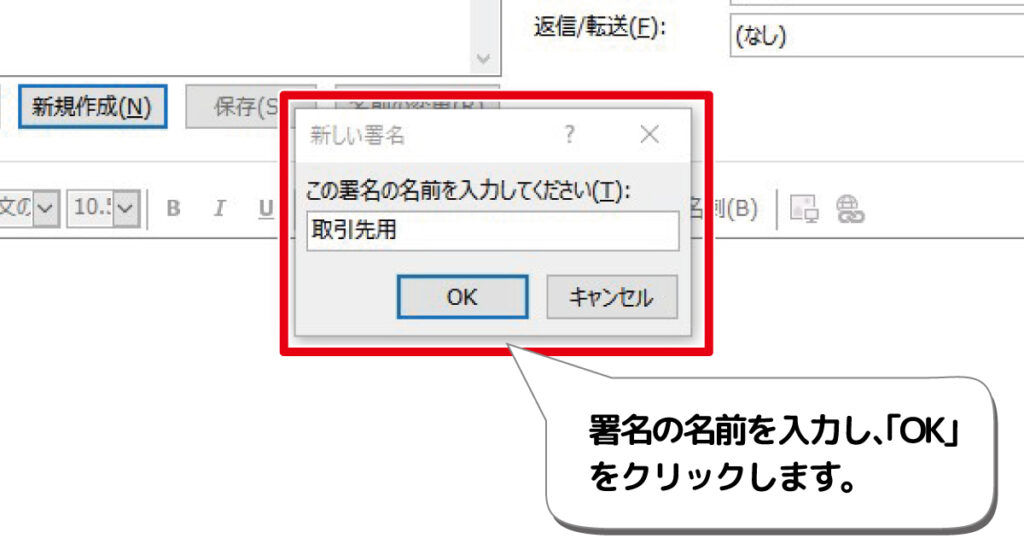
5.適当な名前を入力し「OK」をクリックします。
6.署名の編集欄に署名を入力し、「保存」をクリックします。
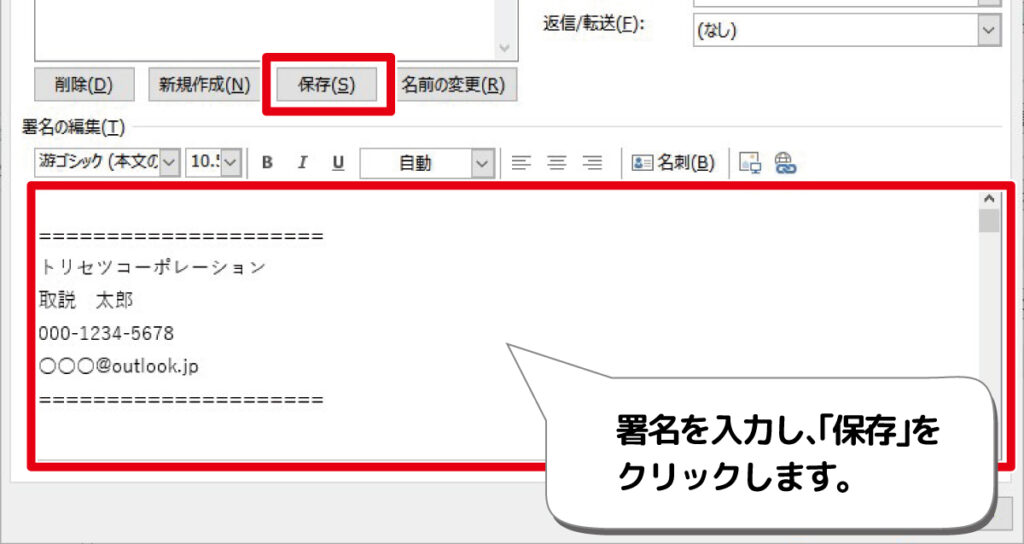
これで新規メールを作成するときに、自動的にここで作成した署名が自動で挿入されるようになります。